I was asked to create a going away present for one of our administrators. They wanted a scrapbook, but not an ordinary one, that could hold photos and quotes from all of the principals in our school district.
When they asked me to do this, it was near the Christmas holidays and the stores were already full of holiday stash. I was shopping at Big Lots and came across these awesome bags intended for holding wine bottles...
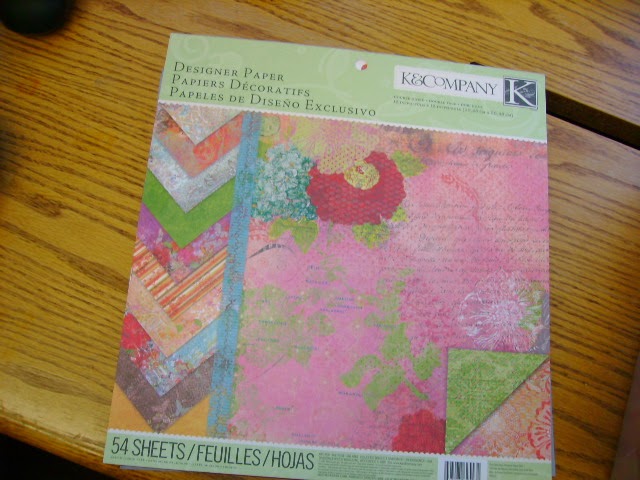
They're a dark purple with a fabulous metallic prism effect. When folded in half, there are 5 surfaces, front and back, for adding pages and a bonus pouch in the middle for a pullout pocket. I folded each one, cut a piece of coordinated background paper from this pack I got at Michael's.
And they ended up looking like this...
This is one of the pouch pockets.
I cut the rope handles and planned a way to use them in my binding. I gathered all six bags and measured the depth, length, and height to determine how big my scrapbook was going to be. I used foam board to make the outside. I'd give dimensions, but it was based on the bag I purchased, and would only work with that bag. It was simply a matter of stacking the bags on top of each other and measuring them, allowing for the "middles" to be pushed closer together where they are bound.
To bind the bags to the scrapbook, I tied each one by wrapping the cord around the folded bag onto the spine of the scrapbook.
I frayed the ends of the cord just for interest and texture. Each principal provided me with pictures and quotes, so I added them to all of the pages and inside the pouch pockets.
I embellished each page with stickers and the end result was beautiful! I kind of had in my head what it was going to look like, but the actual end result was much better than I imagined. I think the color choices were a big part of the success.
In the end, I decided it needed a box to stay stored in, so I used more foam board to create one. I just measured the finished scrapbook, and came up with the measurements for my box.
I Modpodged more of the same background paper all around the sides and top. Note: Modpodge on foam board creates bubbles, but it isn't horrible. Just not perfect!
The finished box, is embellished with buttons and stickers. I also added some purple satin ribbon along the edges of the box to cover up the score lines in the foam board.
My administrator friend was thrilled with her gift! Tada!
The whole process wasn't all that difficult, but I will admit, it was time consuming. Mostly because I was creating it as I went, but I was very happy with the end results.


No comments:
Post a Comment
I love feedback... let me know what you think.